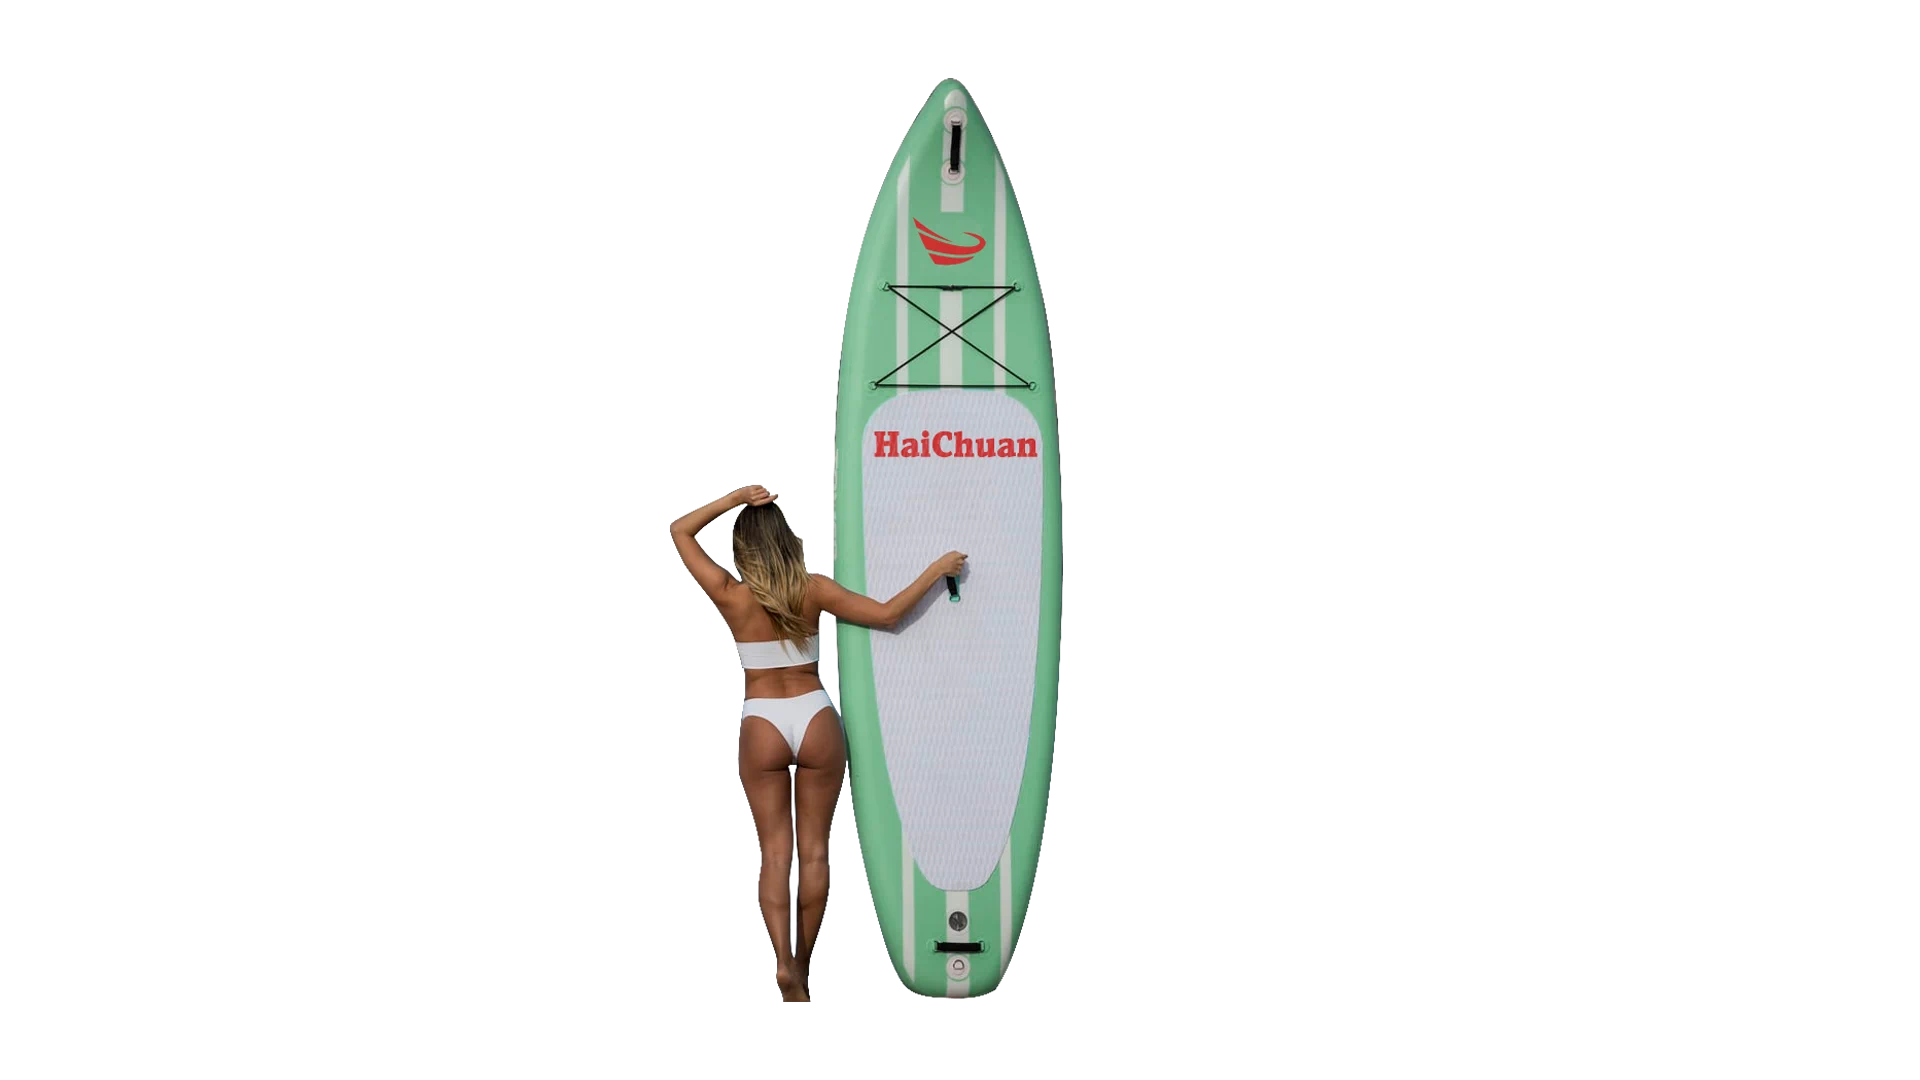
Losing air in your inflatable boat? RIB, dinghy, life rafts or inflatable kayaks. All makes of inflatable boats will need to be repaired at some point in their life but repairing punctures and tears in the hypalon or PVC fabric of RIB collars or inflatable boat tubes is simple and effective - HaiChuan Boats will let you know
First ,you will need to identify the boat or dinghy tube or collar fabric that
your RIB, inflatable boat or life raft is made from, i.e. is your boat made
from hypalon or PVC or polyurethane (PU)? It is very important that you
identify the fabric before you start a patch repair or buy an inflatable boat
repair kit, or open any packs of PVC adhesive or hypalon glue. The type of
inflatable boat fabric that your boat is made from determines the type of glue
or adhesive, solvent and the inflatable boat patch fabric that is required to
undertake the repair.
Second, successful repair of inflatable boats, dinghy, or RIB collars or
inflation tubes are dependant upon the environment in which the boat fabric
repair is carried out - ideal conditions are; relative humidity less than 60%,
temperature between 18°C and 25°C, and a dry and shaded, but well ventilated,
work area. The materials that you use are highly inflammable so there should be
no naked flames in the vicinity.
Inflatable boat repairs of tube or collars can be divided into small tears or
punctures and larger tears (over 50mm long). Small tears/punctures in Hypalon,
PVC and PU can be repaired with a single patch to the outside of the tube using
either 1-part adhesive for temporary repairs, or 2-part adhesive for permanent
repairs. Larger tears must be repaired by affixing a patch both inside and on
the outside of the tube. Make sure you have all the correct materials and tools
prepared before you start the job.
Materials & Tools required to complete this job:
1.Adhesive (1-part for temporary repairs, 2-part for permanent/larger
patches/tears greater than 50mm long)
2.Correct PVC, PU or hpalon fabric patch (or 2 x patches if the tear is greater
than 50mm long)
3.Piece of polythene (if tear is greater than 50mm long. Cut to same size as
inner patch)
4.Correct solvent/primer (MEK or Acetone for PVC, Toluene for hypalon) ·
Sandpaper (for hypalon and PU fabric)
5.Mixing stick (if using 2-part adhesive) e.g. lollipop stick or epoxy mix
stick · Clean, lint-free cloth ·
6.Short/stiff paint or glue brush
7· Removable marker pen or pencil
8. Masking tape 4
9.Seam roller or rounded object e.g. screwdriver handle (to remove air bubbles)
·
10.Heavy weight (to hold patch in-place whilst curing) ·
11.Hot air gun or hairdryer ·
Now, you are ready to get to work on repairing the leaking tube:
1. Locate the tear or hole on the inflatable boat collar or tube. If unsure as
to where the puncture is located, e.g. you have a ‘slow puncture’, then apply
soapy water to the inflated tube and observe any bubbles forming at the
puncture, mark the location, dry the area and deflate the tube.
2. Cut a fabric patch (or x 2 if tear is greater than 50mm) with rounded
corners, allowing a minimum 5cm overlap around the hole/tear in the inflatable
collar or tube, place the patch over the hole and mark around the patch on the
tube with a pencil/removable marker. If the tear is greater than 50mm long then
also cut one matching shaped piece of polythene.
3. For hypalon or polyurethane (PU) patches - Abrade the rear of the patch
together with the marked repair area with abrasive paper to achieve a key for
the adhesive. Do not over-abrade as this could damage the fabric. There is no
need to abrade PVC fabric.
4. Clean/prime the rear of the patch and the repair area, using a clean
dry lint-free cloth, by wiping with the correct solvent for the fabric of your
inflatable tube i.e. Toluene solvent (for hypalon) or MEK solvent or acetone
(for PVC/PU fabrics). Wait until the solvent has evaporated. (N.B. with PVC
fabrics, it is normal for the area to become tacky when MEK/acetone solvent is
applied).
5. Mask the area around the repair area on the inflated tube or inflatable
collar with removable masking tape to prevent unsightly adhesive ‘overspill’
when applying the adhesive. Allow a 2-3mm gap around the pencil/removable
marker line to allow for some stretch in the repair patch when applied.
6. Temporary repairs can be successfully achieved using 1-part glue (proceed to
next step if using 1-part adhesive). 2-part glue must be used for permanent
repairs or for larger patches or tears greater than 50mm long. For 2-part
adhesive, mix the adhesive as per the instructions that were supplied with the
adhesive (read the following steps before mixing the 2-part adhesive as 2-part
adhesives generally have short curing times).
7. If the tear in your inflatable is greater than 50mm then, using a brush
applicator, apply an even, thin coat of adhesive to the rear of one of the
patches and to the inner tube surface around the repair area, leave to dry for
at least 20 minutes, apply a second and third coat, leaving each coat to dry
for 2 minutes or until tacky. Place the piece of polythene over the applied
adhesive on the patch so that the patch can be rolled-up into a cigar-shape
without the adhesive sticking to itself, unroll the patch inside the tube,
position over the tear and then peel away the polythene to allow the two glued
surfaces to meet (N.B. as hypalon glue and PU or PVC boat glue are ‘contact’
adhesives then it is important to position the patch correctly as it will not
be possible to re-position once in place). Smooth the patch firmly using a seam
roller or rounded object (e.g. piece of shaped hardwood or screwdriver handle),
working from the centre of the patch outwards to smooth out any air bubbles and
ensure good contact.
8. Using a brush applicator, apply an even, thin coat of adhesive to both the
rear of the external PVC, PU or hypalon repair patch and the masked repair area
on your inflatable boat collar or tube, leave to dry for at least 20 minutes,
apply a second and third coat, leaving each coat to dry for 2 minutes or until
tacky, apply the patch carefully to the repair area (position the patch
correctly as it will not be possible to reposition once in place). Smooth down
the patch firmly using a seam roller or rounded object (e.g. piece of shaped
hardwood or screwdriver handle), working from the centre of the patch outwards,
in order to remove air bubbles and ensure good contact.
9. If the repair patch is not sticking in places or air bubbles remain then the
area can be gently heated with a hot-air gun or hair drier and ‘re-worked’.
10. Remove the masking tape and clean-off any excess adhesive from the repair
area on your inflatable with the correct solvent [Toluene solvent (for hypalon)
or MEK/acetone solvent (for PVC/PU fabrics)]. It is important to remove any
excess adhesive as if this remains on the surface of your inflatable collar or
tubes it will turn an unsightly brown!
11.Place a smooth sided heavy weight on the patch and allow to cure for 24
hours before re-inflating the boat collar or tubes to check that the repair has
been successful and before re-launching the boat.
Any
further professional information about your boats please contact with Hai Chuan
boats info@haichuanboats.com